Finally, beautiful weather. Anyone who lives in a northern area where they suffer through 6 months of winter + 2 months of almost winter, knows that those nice days are like a drink of water to one wandering in the desert. You just want to drink it all up and not miss a drop. So, of course, I don’t want to be stuck inside doing “school” when the weather is nice and neither do the kids. And, though I value lots of free play, I still do want to do some school activities. The solution? Bring the classroom outside! I don’t just mean gross motor, outside activities, but actual Montessori materials designed to be used outside.
I didn’t want to take my actual wooden, expensive Montessori materials outside where they could easily get damaged and that’d be a lot to transport daily. So I put together a set of Montessori like activities focusing on affordability, durability, mobility and washable Many of these could be DIY or affordable alternatives to the Montessori materials for those on a budget. This is part 1 of our outdoor classroom.
So the first thing for an outside classroom is the set up. You need places to work and you need some shade from the sun. We have a table and chairs with an shade umbrella. A magnetic whiteboard on the fence. And a caddy that can be moved outside during the day and back in at night. We also have a smaller umbrella that can be moved around to where it’s needed.


Now to our “Outside Materials”
Moveable Alphabet

This moveable alphabet is made from magnetic foam letters by Learning Resources. The container is the Plano Stowaway that I got on Amazon. They fit perfectly and it makes them easily transportable and accessible. We use them on the magnetic whiteboard on our fence. Or we can use them on a cookie tray from the dollar store. Being magnetic they won’t blow away when there’s a nice breeze.


We also have other regular magnetic letters that we do some upper and lower case matching with.

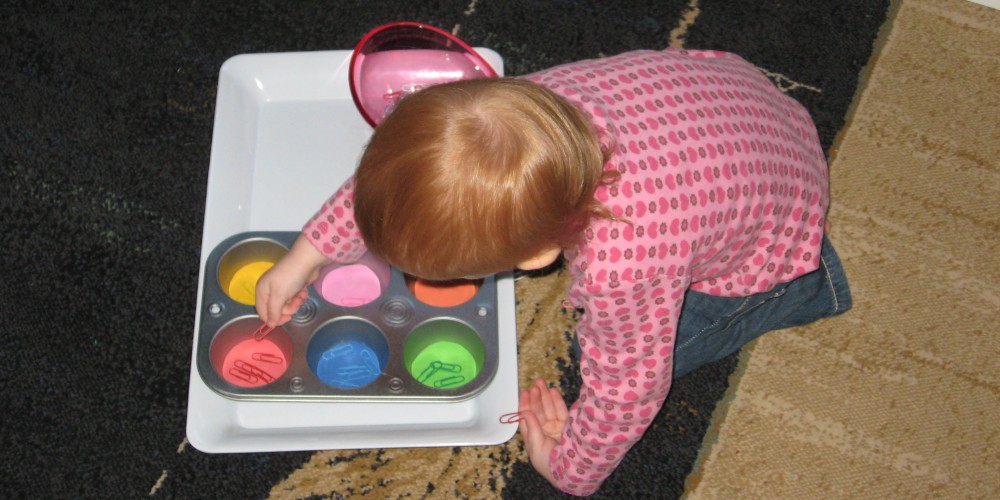
Stamp Game
I really love our outdoor stamp game. In fact, if I had thought of it sooner, I wouldn’t have purchased the stamp game at all and just used this.

The gems are from the Dollar Store and Michaels (I had trouble finding red ones). The pegs I already had. You could dye them different colours with food colouring if you wanted. You could also use plastic game tokens. I wrote the numbers on the back of the gems with permanent marker. The nice thing about the numbers is if you do the “1” like I did, you don’t have to worry about writing it backwards in order to look right. The storage container is also from the Dollar Store.


I also grabbed one of our place value mats that I made. The plastic number squares are from Amazon. I also put them in a Dollar Store container for easy use and transportation.

The number tiles can also be used with unifix cubes for other math activities.


“Red” Rods
I brought out a set of our cuisenaire rods as mini “red” rods. I put them in a sandwich container from the Dollar Store for storage. One could paint them all the same colour if they wanted.


Hundred Board
This is actually our only Hundred Board. I never got a wooden one as this was affordable and wouldn’t shift around if bumped. With the pieces stored in another Dollar Store container it’s easy to transport and great to use outside. One side has numbers and the other side is a blank grid. You can also write on it with a white board marker.

Constructive “Triangles”
These plastic pattern blocks aren’t exactly the same as the constructive triangles but they’re great for learning shapes and how shapes fit together. You can also print off patterns to match them to. Dollar Store container again!


Tanagrams are also a great alternative.
Pumpkin 1 has been crazy about the Magnetic Mighty Mind. We’ve actually had it for a few years but I just pulled it out as she was too young before. It’s the perfect travel size and the magnets are strong so they stay in place. The cards start off simple and get progressively more difficult. She worked on this for about 45 mins.


Geo Solids
These mini Geo Solids from Learning Resources can be used to teach shapes and size. There is 4 sizes of each. They’re not exactly the same as the Montessori ones, mainly they’re missing the round shapes. I threw in a little ball from the Dollar Store to teach sphere. I worked on Small, Medium and Large with Pumpkin 2. And I also learned the new shape – Hexagonal Prism.

So far our outdoor classroom has been wonderful. There’s nothing like working in the fresh air. But there’s more! Stay tuned for Part 2 of our Outside Classroom!
