My son, 19 months, was starting to show an interest in nurturing dolls. He’s mostly into cars, cars, cars and lady bugs, but I thought it’d be good to encourage this tender side . I believe dolls are important for all children, regardless of gender. Many boys will grow up to be fathers one day and often nurturing is something men feel at a loss with. My husband teased me saying he wanted him to “be a man and kill bears with his bare hands”. “Yea right,” I said, “you can’t even do that”. “But you’ll make him a sissy”. I proceeded to lecture about how many dead-beat dads there are out there and that maybe something is wrong with our society’s focus on “be a man” and instead more boys need to learn how to love, care for and nurture and what better way than with their very own doll.
I’ve been looking into Waldorf and I am moving toward more simple, natural toys. Waldorf dolls are lovely, made of natural materials, stuffed with wool which absorbs warmth making the doll warm. They have simple faces which allow the child to imagine all sorts of emotions for them. And they’re soft and cuddly. However, they have a hefty price tag. This is because the natural materials are not cheap and the dolls take time and expertise. But, at this time in our family, a waldorf doll just isn’t in the budget. So, after much thought and a little nervous, I thought I’d attempt to make my own doll.
First I gathered my materials. I decided to use old birdseye flat diapers for the skin. For the head I had some old cotton yarn. From Fabricland I purchased wool batting (80% wool 20% polyester), embroidery thread, 100 wool yarn, cheese cloth and doll making needles (they’re super long). Fabricland was having an awesome sale at the time. At Michaels I found some wool roving that’s used for needle felting. In all I spent about $30-$35.
I followed this tutorial for making the doll head. It was the part I was most worried about but it was pretty easy.
I wound the cotton yarn into a ball.
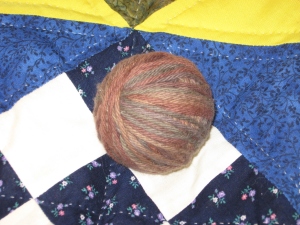
Then I wound the wool yarn over it until it was 11″ around.
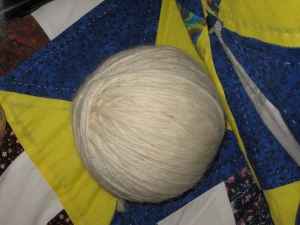
Next I cut out the wool batting (doubled over) and put it over the ball.
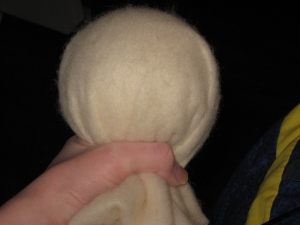
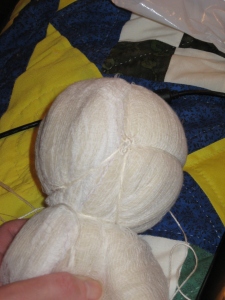
I cut out a piece of cheese cloth to fit and sewed it into a tube and inserted the “head” into it.
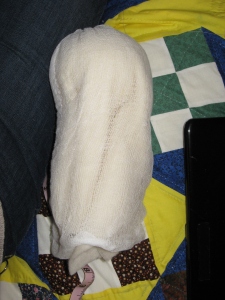
Then I tied a string very tightly around the neck. Next was to make the indent in the face to give it shape. It didn’t make a very deep one, I think because wool batting isn’t as poofy as roving but I didn’t have much roving and I wanted to use it for the body. Wrap the string around twice and pull very tight and tie.
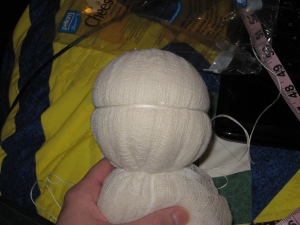
Then tie a string the same way from the top to the back of the head.
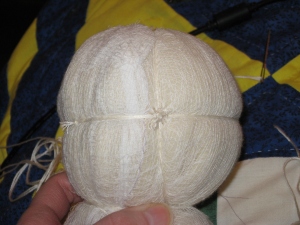
Then sew a few stitches over where the two strings meet on each side to hold them in place. After that, using a crochet hook, pull the string in the back of the head down to the neck.
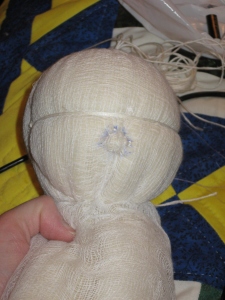
Now to make a nose. You don’t have to do a nose but I think they look so cute. Draw a circle. Don’t use pen like I did. It’ll show through your fabric. Make a very light line. The blog I used as a tutorial above explains how to do the nose really well.
“Start at 3:00 put your needle in across and come out at 9:00. Move to 10:00 and come out at 4:00, pull gently, Move to 5:00 PM come out at 10:00. Move on to 12:00 and so on, repeating the pattern until you go all the way around. Pull your thread and the wool will draw up into a little ball. Put a little glue to hold the shape of the nose and let it dry.”
Next I cut fabric out for the head and sewed it. I estimated and drew the shape on the diaper with chalk, cut it and sewed it. However, diaper fabric doesn’t stretch so my first one wouldn’t fit over the head. What I had to do was not make the neck part as narrow and only sewed down to the curve and not past it.
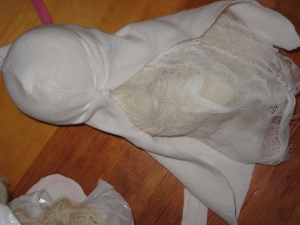
Also leave a gap at the top so that you can pull the fabric back and sew it down. Again tie a string very tightly around the neck pushing any puckers to the back of the head.
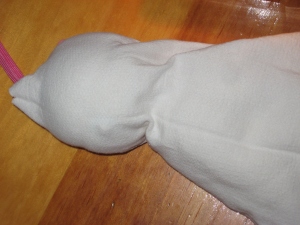
To make the body I just drew my own design on the material. I followed this pattern. I lay the material over the head to see the proportions. You can see how I had to paint around the nose to hide the pen marks.
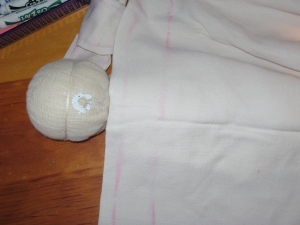
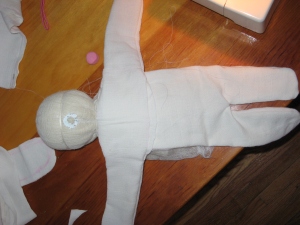
Next comes stuffing the body. I cut rectangles from the wool batting and rolled them up and covered them with the wool roving and stuffed into the limbs.
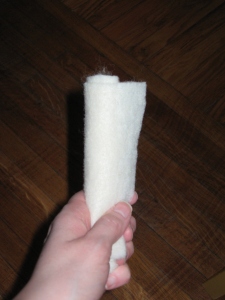
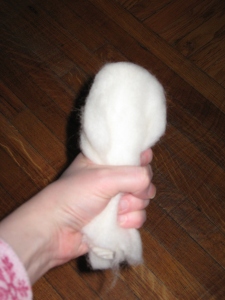
For the body, I wanted the doll weighted a bit. I had some little bags from Chanukkah so I took two and filled them with dry lentil and sewed them shut. I only wound up using one in the body though.
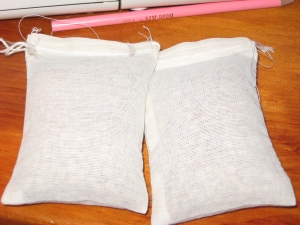
I stuffed the body with a extra wool roving in the bum and then the bag I put into the fabric of the neck from the head and stuffed it all into the body. The body needs to come up over the shoulders as in the tutorials in the above blog. I got into my work and didn’t really take pictures of how to sew the body together and to the neck but the tutorial at Living Crafts with give clear instructions. Here it is again (click the photo).

To make the face, put pins in first where you think you want the eyes and mouth. Then use the doll making needle to embroider it on. Thread your needle and push it through the head just above to the left of your pin for the eye. Un-thread your needle and tie a knot in the thread at the back of the head and pull tight from the front. Then re-thread your needle from the front of the head now and embroider your eyes. Living Crafts has photo showing how to do this. Make the mouth very simple with only a very slight smile.
After the face is done you can sculpt the body if you want. I did a little bum and sewed the leg crease so the doll would sit better and made a belly button.
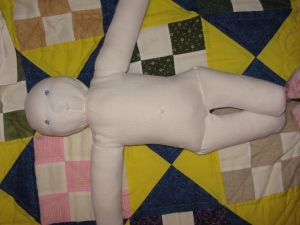

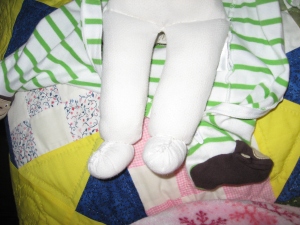
The legs were too short though for the body and it was bugging me so I made feet by sewing around a circle of fabric, stuffing it and pulling it tight and then sewing it to the end of the leg.
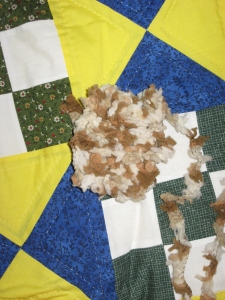
For the hair, I just used some yarn I had, it wasn’t natural yarn but I thought it’d make hair easily by just crocheting a cap and I was right. It was late at night by then and I wanted it done for my son in the morning.
I then sewed the cap to the head.
I added some of my own natural blush to the cheeks, dressed the doll in my son’s old newborn sleeper and here is the final product:
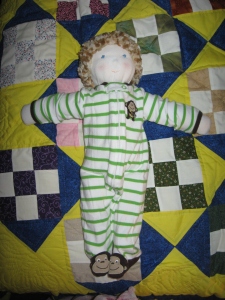
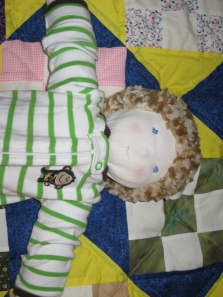
I was surprised at how well he turned out. He’s far from perfect. One arm is longer than the other, his skin is too white and his legs too short, but you know what…..
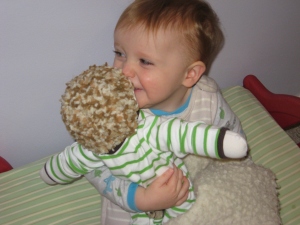
…my son loves him!

